Standard Data Copy Manual
Data Copy Manual
- 4. Sending data in PC to another controller and storing (data copy)
-
Example: Send “D Data” that is saved in the PC as the file name “speed.ddt” to the controller and store it.
(1) Select [File] -- [Open] to open the “D Data” file.

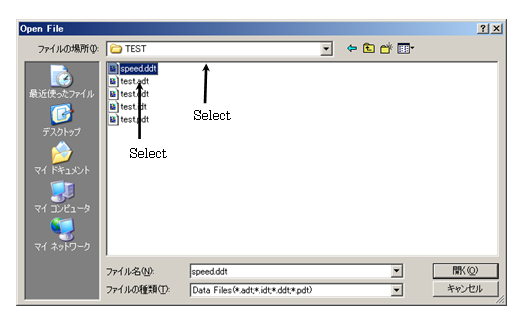
(2) The [Open File] dialog box appears. Select the file location and [speed.ddt] file.
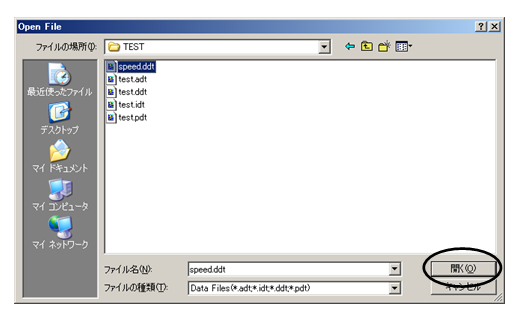
(3) Click the [Open] button to open the file.
* When communication is not available or error messages appear from the controller, please refer to the "Error Messages".
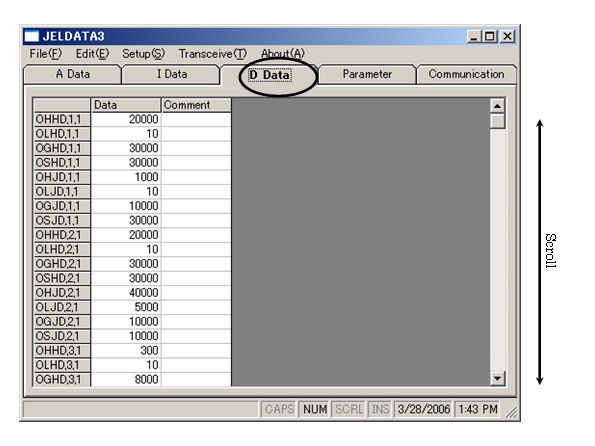
(4) Click the [D Data] tab in the main window to display the data. Use the scroll bar or the arrow key to check the data.
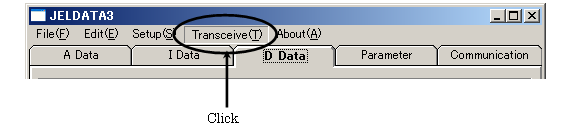
(5) Click [Transceive] on the menu to send the data.
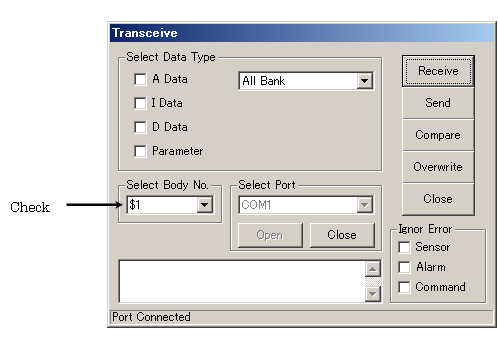
(6) Check the controller body number on the [Transceive] dialog box.
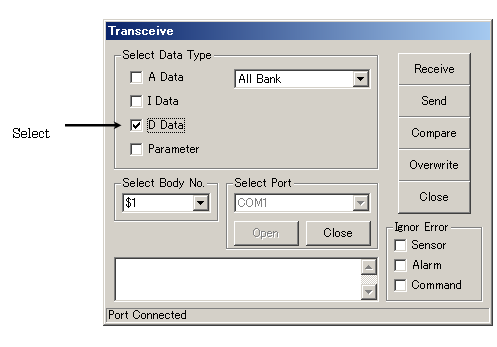
(7) Select “D Data” from [Select Data Type].
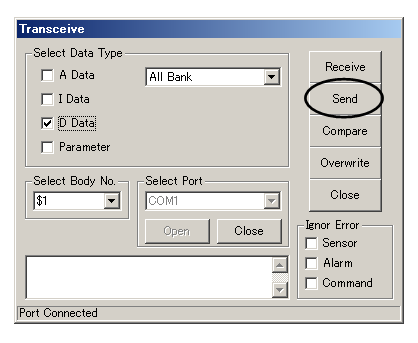
(8) Click the [Send] button to send the data.
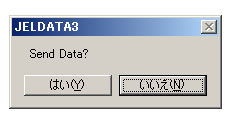
(9) Click the [Yes] button on the Confirmation dialog box to start sending the data.
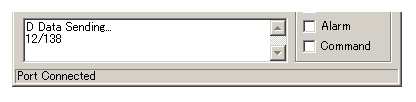
(10) While sending the data, the progress is shown on the status bar.
(11) When the data sending is completed, click the [OK] button on the message.
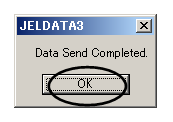
* After sending the data, JELDATA3 Ver.1.3.1 automatically starts comparing the data to check if the send data has any mistakes.
* When communication is not available or error messages appear from the controller, please refer to the "Error Messages".
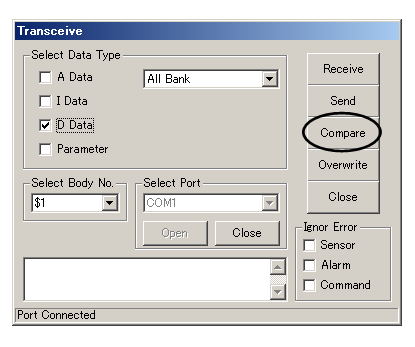
(12) Click the [Compare] button to compare the data in the PC with the one in the controller and check if the data has been sent correctly. (Make sure that “D Data” is selected for the [Select Data Type].)
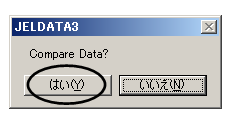
(13) Click the [Yes] button on the confirmation dialog box to start comparing.
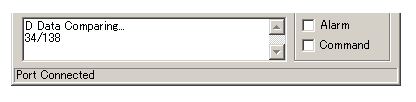
(14) While data is being compared, the progress is shown on the status bar.
* When communication is not available or error messages appear from the controller, please refer to the "Error Messages".
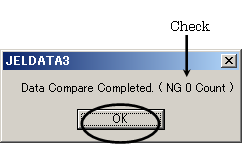
(15) When data comparison is completed, the message [Data Compare Completed.] appears. Click the [OK] button after checking that the number of NG on the dialog box is 0 (all data matched).
(16) Click the [Overwrite] button to store data. (Make sure that “D Data” is selected on the [Select Data Type].)
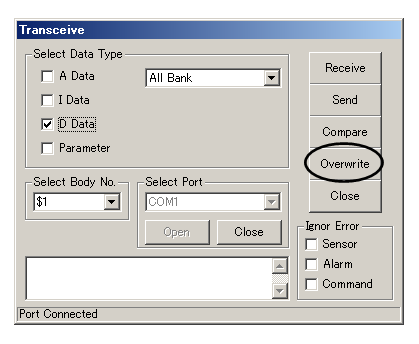
! Caution: Once [Overwrite] is executed, the previous data will be gone.
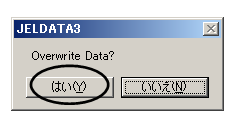
(17) Click the [Yes] button on the confirmation dialog box to start overwriting.
(18) While overwriting the data, the progress is shown on the status bar.
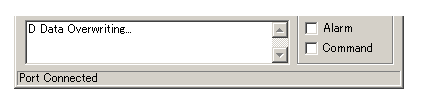
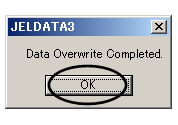
(19) When overwriting is completed, click the [OK] on the message [Data Overwrite Completed].
* When communication is not available or error messages appear from the controller, please refer to the "Error Messages".
[an error occurred while processing this directive]